The audit trail can either be inspected from the ToolBox, or from the ATL tab of the Config Window.

The advantage of the latter is that there is a selection to switch between different Audit trail databases. For instance, an institution could use annual Audit databases. For each year it would create a new database, and then switch logging to this new database. With the switch above, the administrator can inspect the current Audit database, but also the old ones.
Audit Log
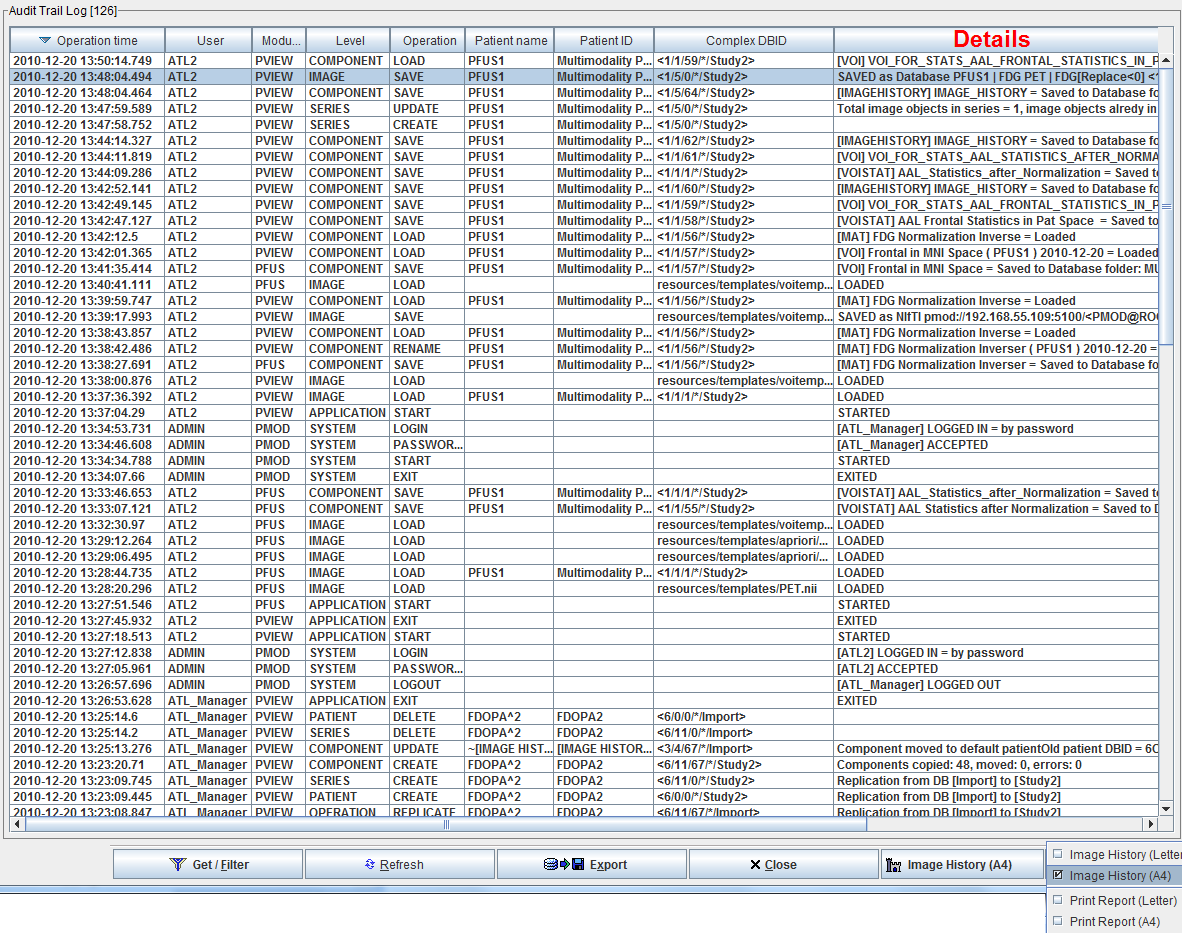
Activating the Select and view log button opens the Audit Trail Log as illustrated below.

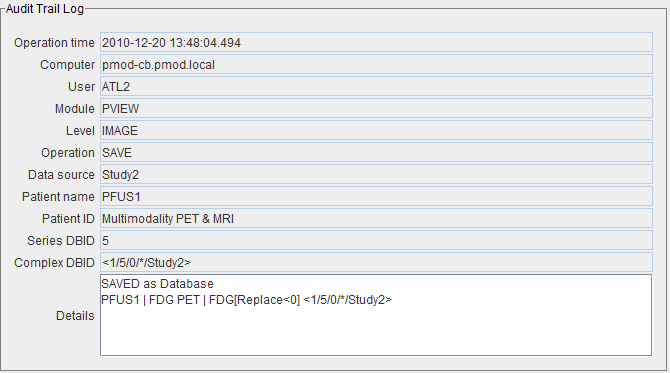
Each relevant event generates one or more entries in the Audit log. For instance, when the VOI statistics are saved the system saves the VOI definitions also and logs this action. The details of a log entry can be seen by double-clicking. The example below illustrates the entry of a data set which was created by setting all pixel values below zero by zero.

Audit Trail Report
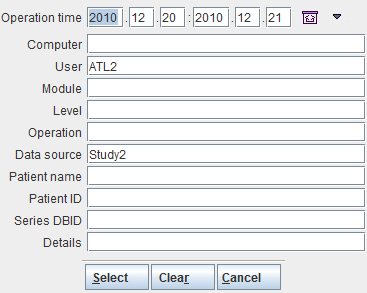
The first task for creating a meaningful audit trail report is defining an appropriate filter so that only relevant information will be listed. The filtering criteria can be changed with the Get/Filter button. After setting the filter as in the example below, only the operations of user ATL2 in the Study2 database will be shown in the list.

Once the list has been filtered, it can be printed as a report with the Print Report button, either with the A4 or the Letter format. For reasons of performance, the maximum number of print pages is restricted to 100.
Image History
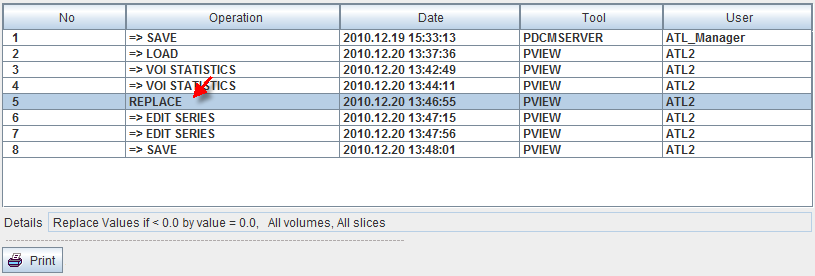
When an IMAGE (Level) SAVE (Operation) event is selected in the list, the Image History button becomes active. It can be selected to show the entire history of this saved data set, for example:

The detail information of an operation can be seen in the Details area after clicking at an operation. The Print button allows printing the history as a report wherein the operation details are listed.