There are two additional features on the Normalized page.
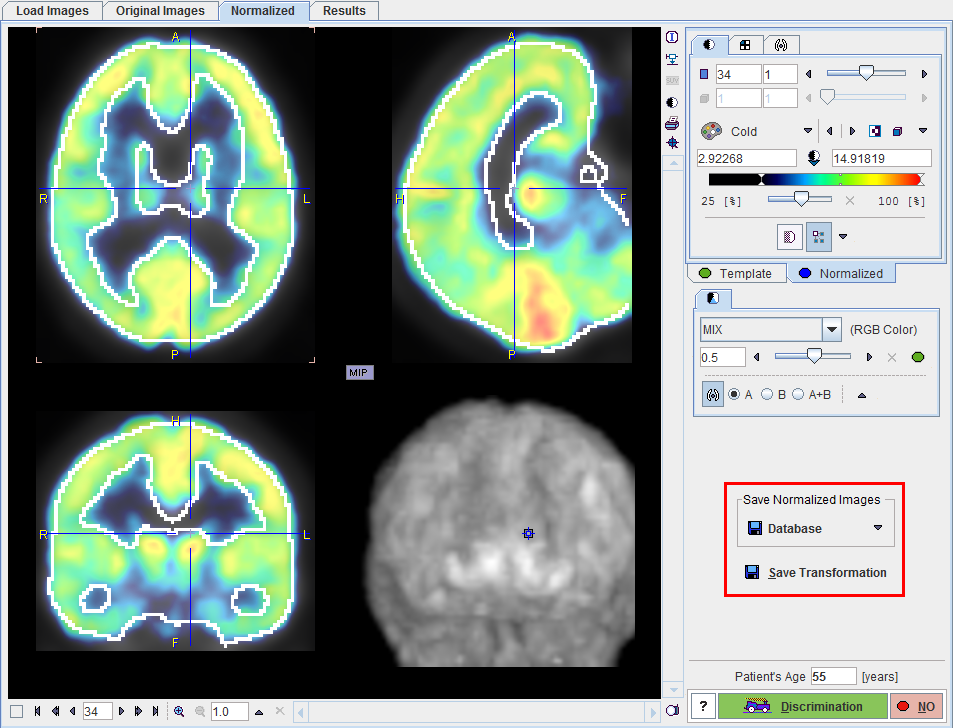
The normalized images can be saved for later referral in the Save Normalized Images section. As an indicator that they are the result of a spatial normalization they will contain the term NORMALIZED in the series description.
Additionally, the SPM-compliant transformation matrix can also be saved using the Save Transformation button. It allows directly recalculating the normalized images from the original images without repeating the normalization calculation.
The extended mode provides four additional features on the Results page.
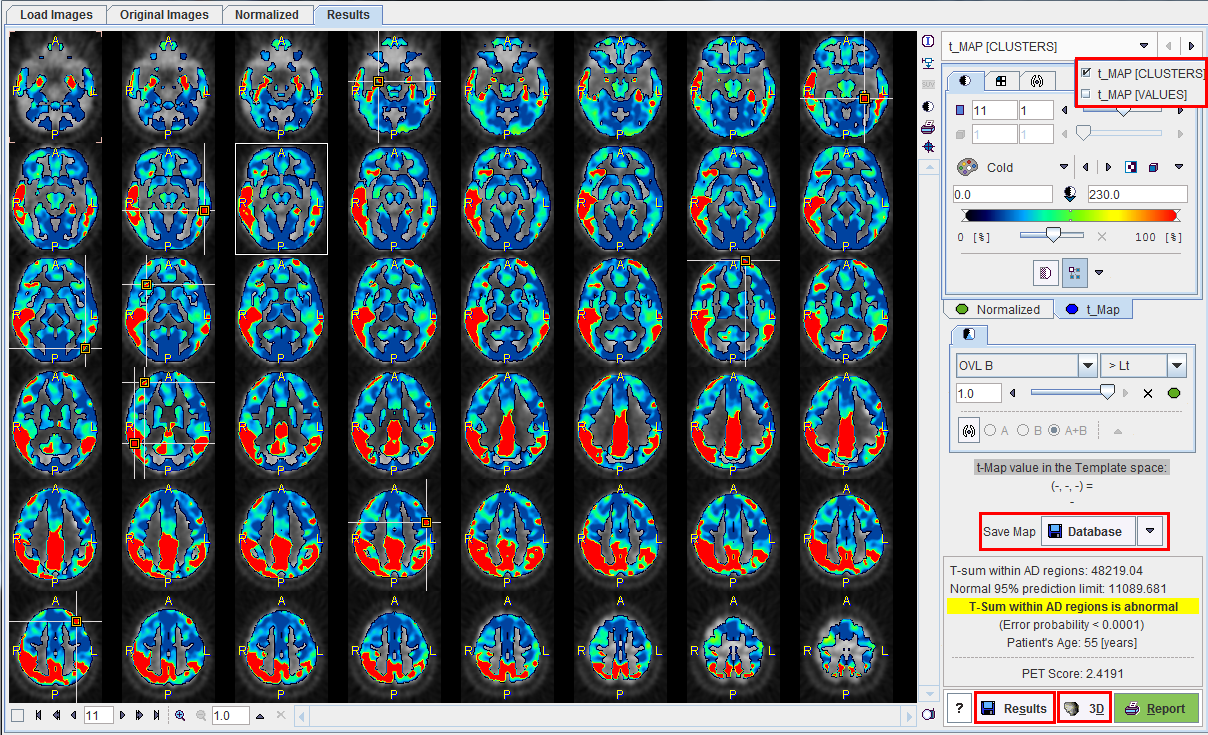
Maps Selection
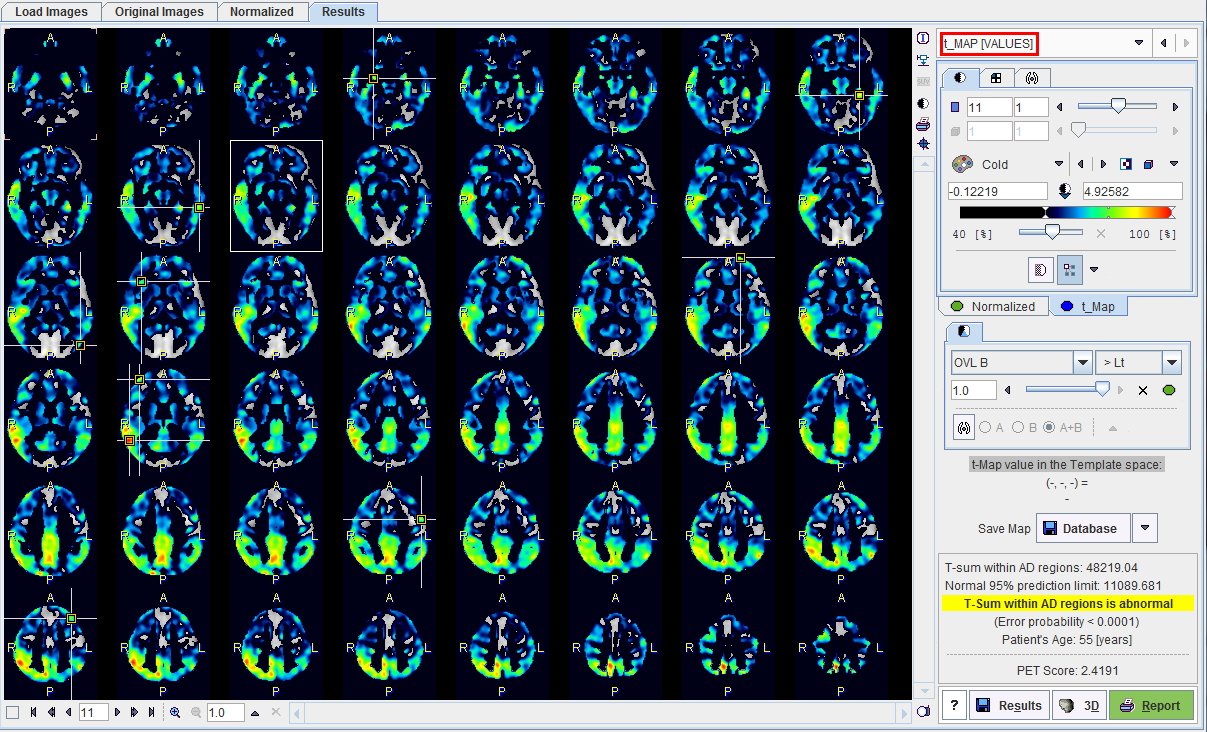
After selecting the t_Map panel, the user can select between the clustered t-values (t_MAP [CLUSTERS]) which is the default, and the raw t-values (t_MAP [VALUES]) as illustrated below. The selected data set can be exported for external processing or visualization using the Save Map button.
Numeric Results Comparison
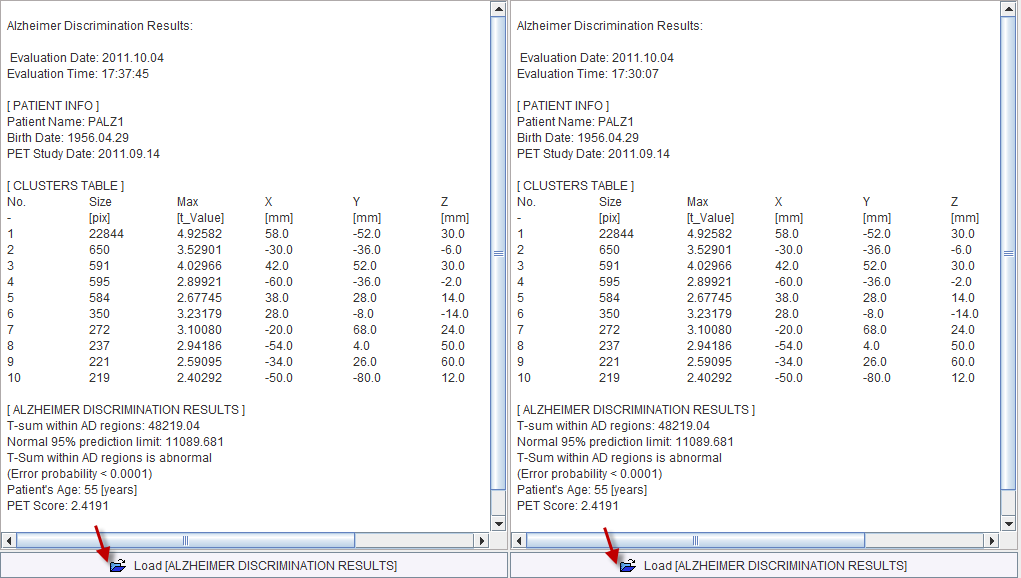
The result of the discrimination analysis is text information, which can be saved using the Results button. This file can either be opened in a general editor (eg. Wordpad, Excel), or using the  button in the status line of PALZ.
The PALZ result viewer has two windows, into which PALZ results can be loaded and compared side by side as illustrated below.
Report Pages
The illustration below shows the overview of the three available pages. To edit, save or print a page select it in the Pages section.
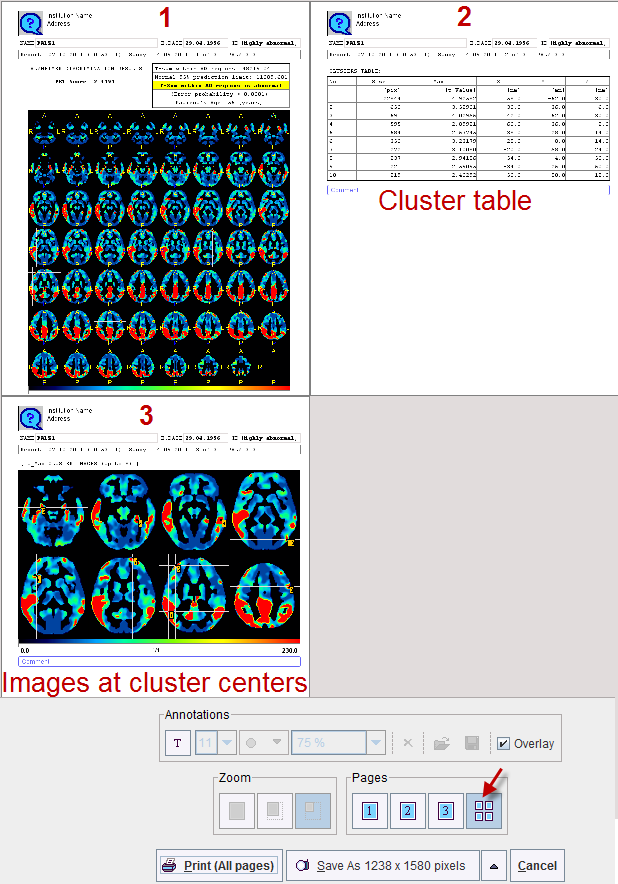
As described above, the first report page contains the discrimination result and slice images of the clustered t-map.
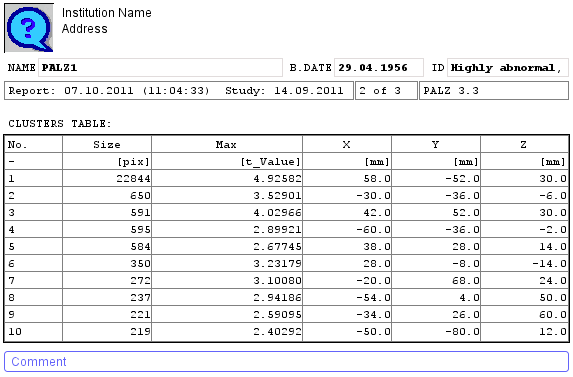
The second report page lists the clusters indicating the cluster size in number of contained pixels, the maximal t-value in the cluster, and the location of the cluster maximum in template coordinates. The list is sorted according to the cluster size.
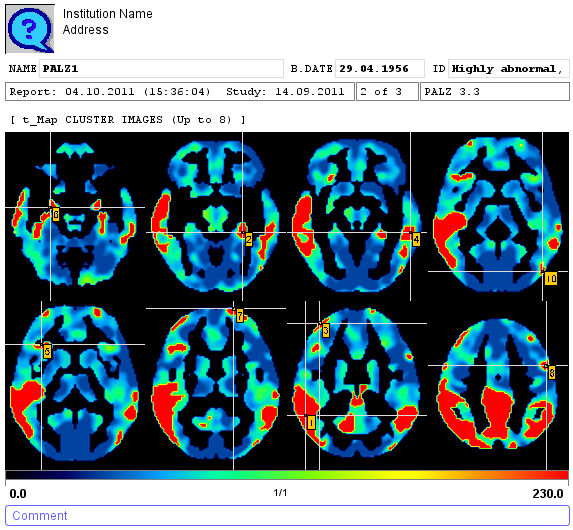
The third report page contains the slice images located at the cluster centers, ordered by slice location.
3D Rendering (Separate Option)
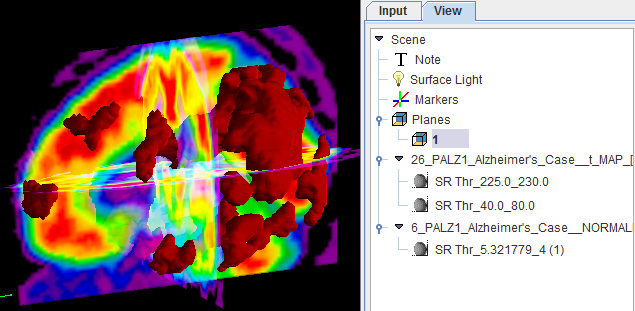
If the PMOD 3D option is included in the PMOD license, the result of the analysis can directly be transferred with the 3D button and a default rendering will be applied. In the example case the 3D tool will show an image similar to the one shown below.
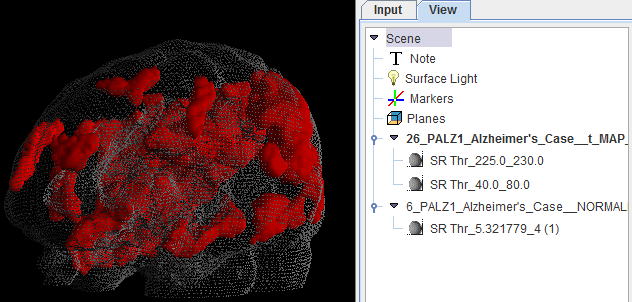
This scene can interactively be examined and the rendering changed in a multitude of ways.
